Week 2 - Modeling A Handgun
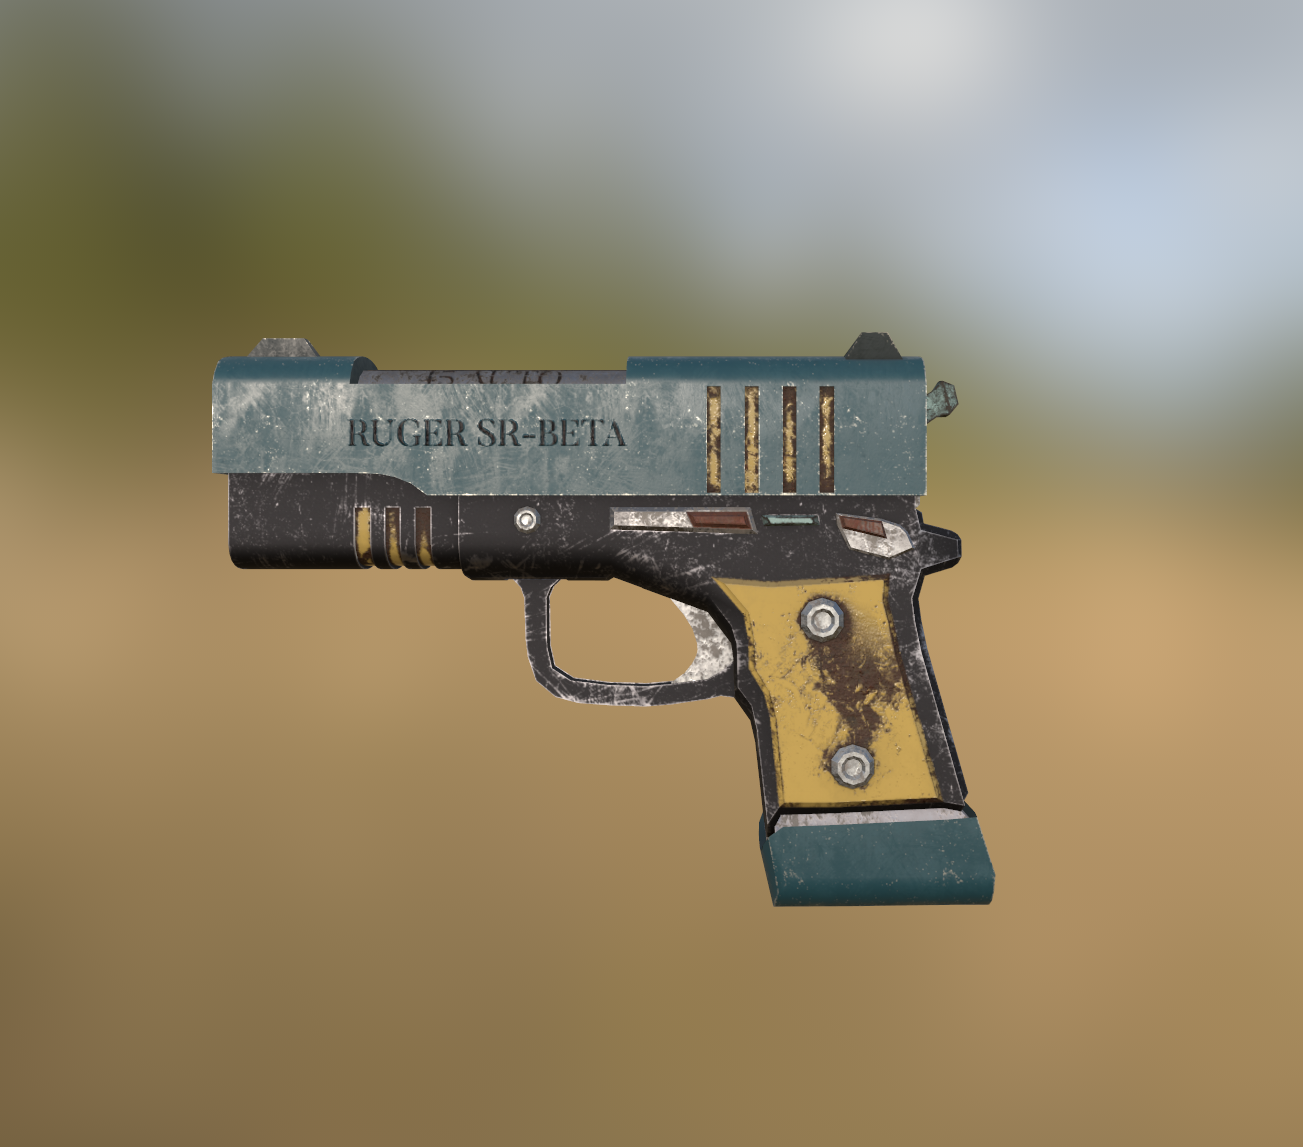
Back again with another post! This week, I took on the challenge of modeling my first weapon–a handgun. It was an exciting process with plenty of learning along the way. I don’t typically model weapons, but it’s a skill I’ve been wanting to explore further. To keep things manageable, I decided to start with a relatively simple design rather than something overly complex.
Moodboarding
Before jumping into modeling, I put together a moodboard to gather inspiration and reference material:
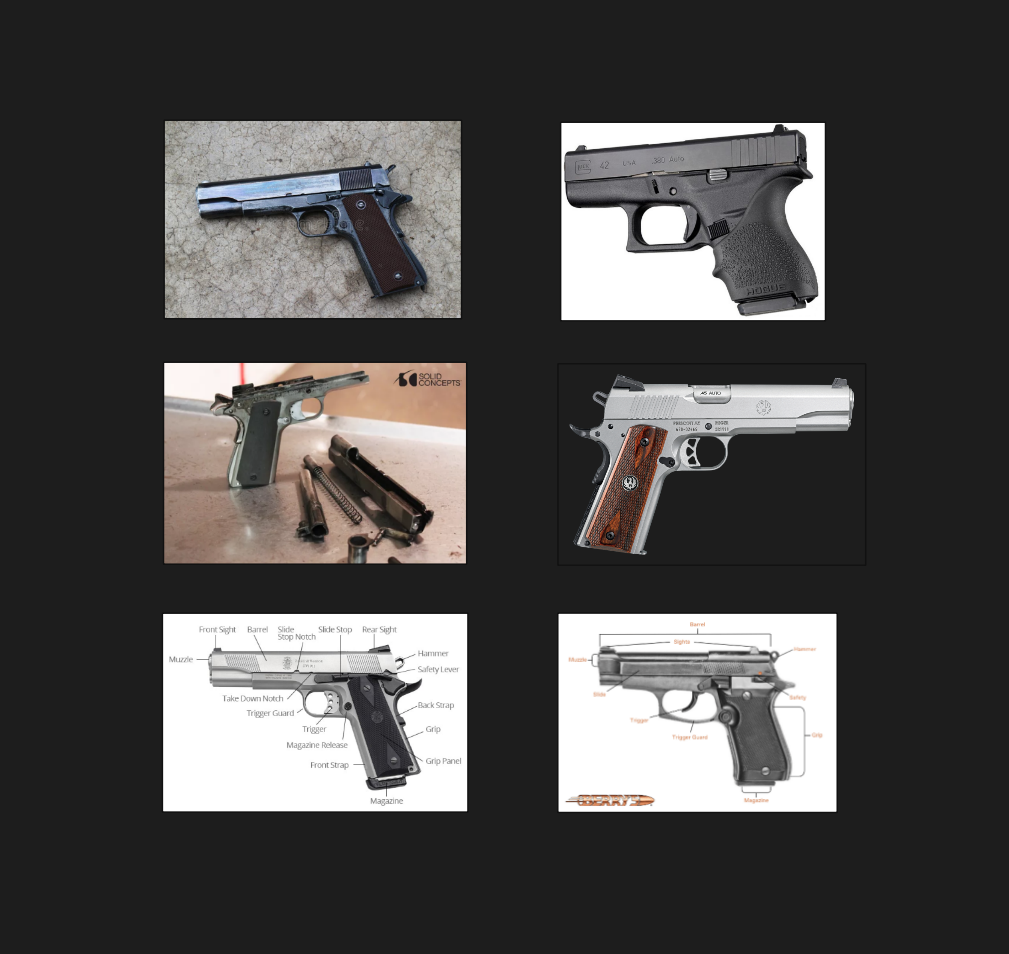
This collection includes various handgun references along with some anatomical breakdowns. Having a solid reference is essential for nailing proportions and design accuracy before moving into the modeling phase.
The Ruger SR1911
After some research, I landed on the Ruger SR1911 as my primary reference. Ruger handguns are known for their reliability, durability, and affordability. The SR1911 stood out to me because of its exposed barrel design, which I wanted to incorporate into my model. One key aspect I focused on was the metallic materials, as getting the right surface properties would be crucial for realism.
Modeling
For modeling, I opted to use my moodboard as a general reference rather than directly importing images as templates. Initially, I considered creating both low-poly and high-poly versions of the gun, but since this is a relatively compact weapon, I decided to stick with a single detailed model. In the future, for more intricate or high-fidelity assets, I’d like to experiment with baking high-poly details onto a low-poly version for better real-time performance.
I also made sure to model individual components separately–especially the parts that would need to be animated for game-ready implementation while keeping the poly count optimized:
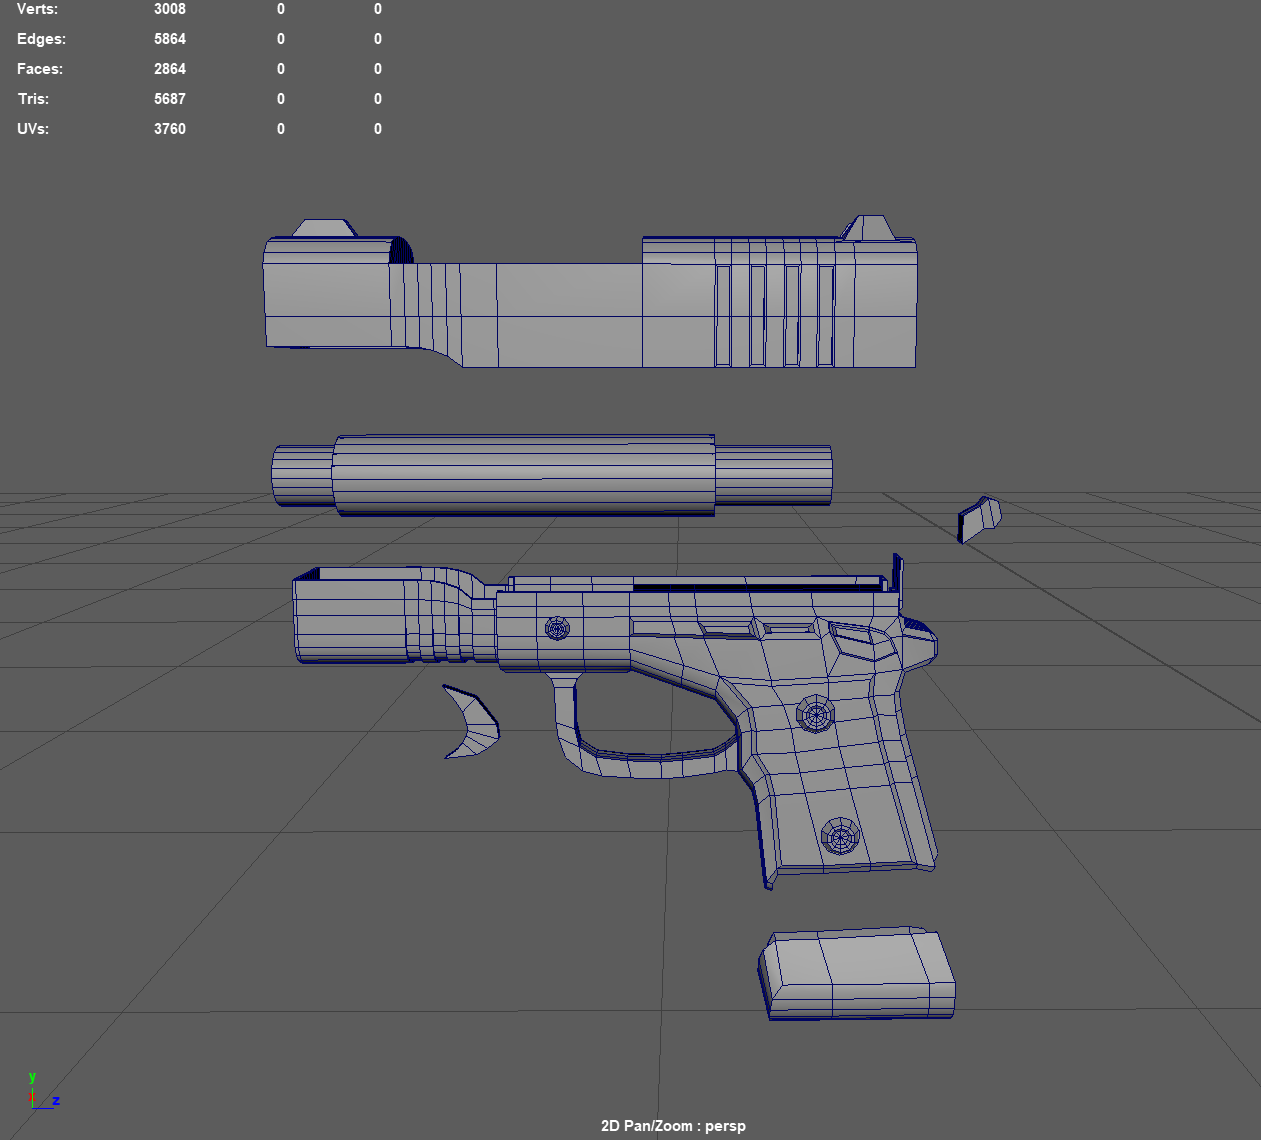
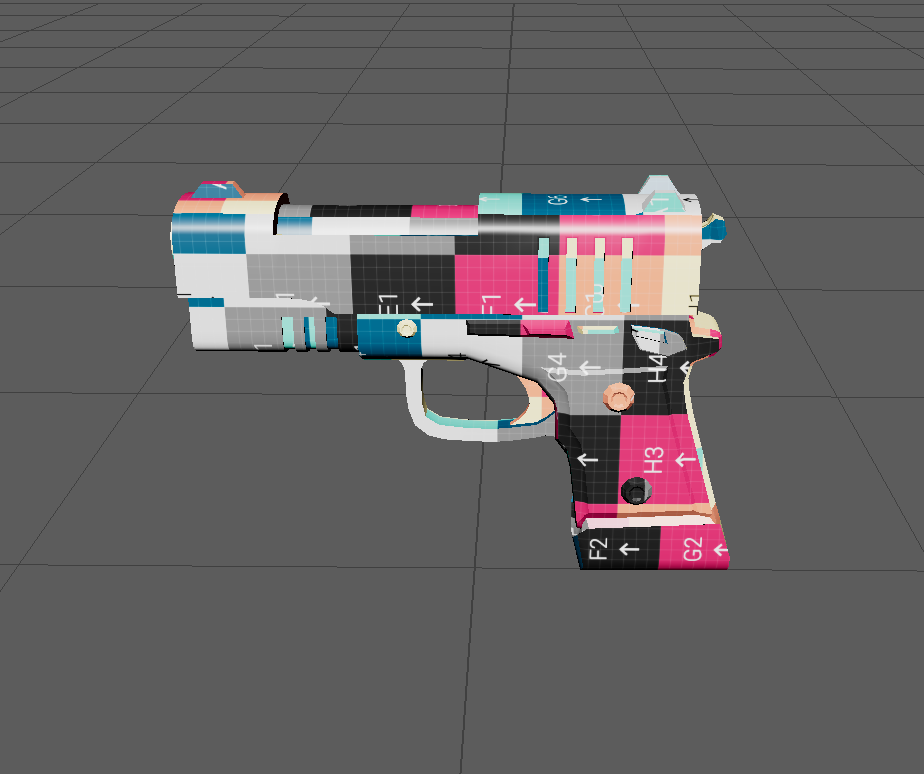
For UV mapping, I settled on a 2K texture resolution with a texel density of 20.48. Initially, I considered a 1K texture with a density of 10.24, but since this is one of my first portfolio pieces, I opted for a higher resolution to ensure better quality:
Texturing
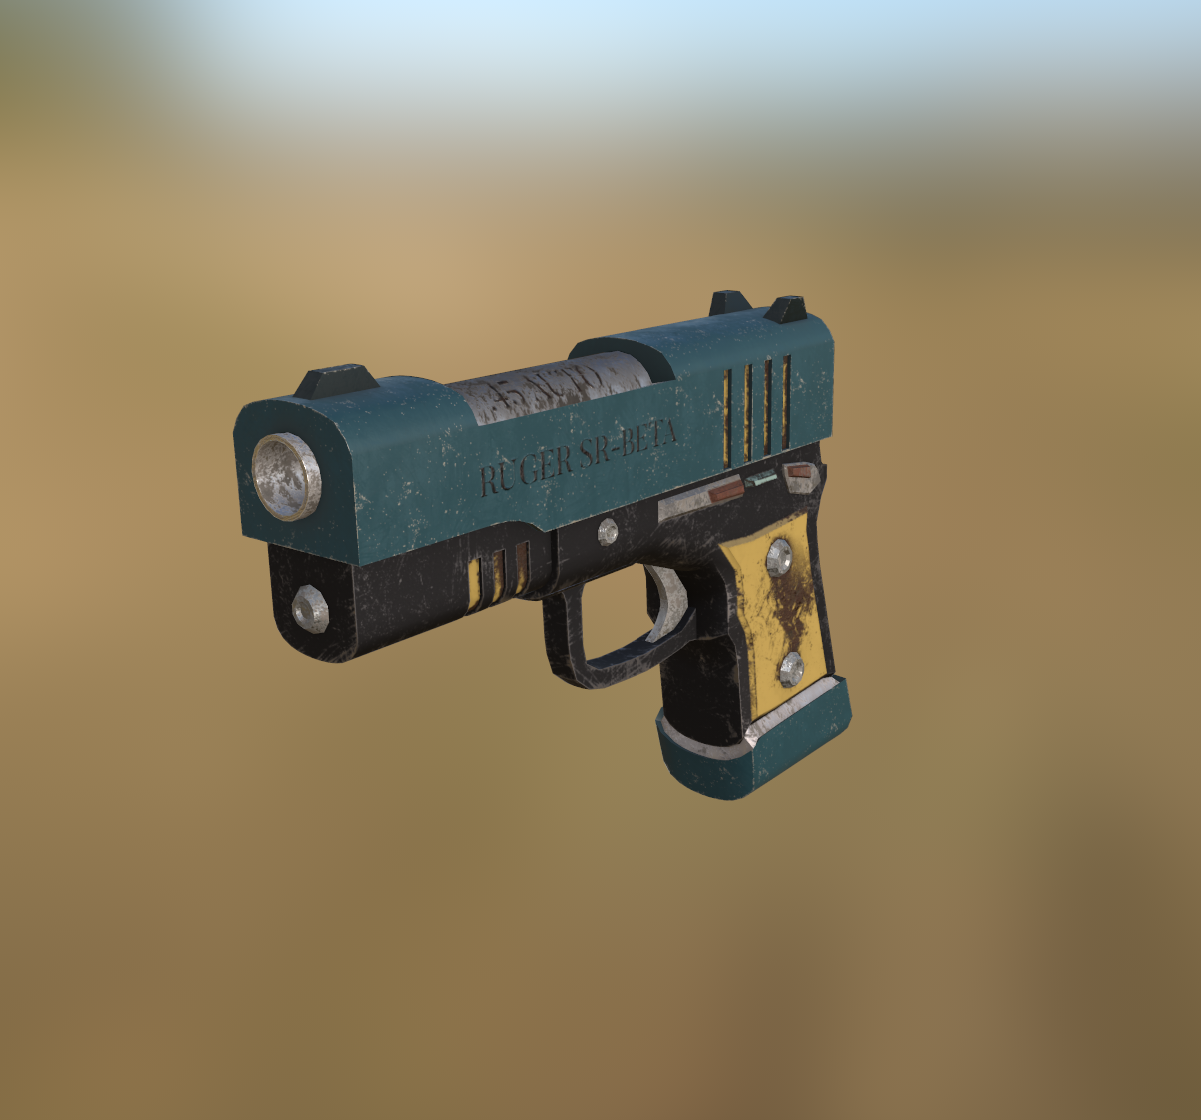
For texturing, I decided to experiment with my own color palette instead of strictly following the moodboard. I initially wanted a bright pastel theme, but I ended up toning it down with subtle wear and tear–adding rust and faded edges to the metallic surfaces for a more natural, lived-in look.
To make certain elements pop, I incorporated a muted yellow accent. I had to adjust the saturation slightly to ensure it blended well with the rest of the design. I also added some stencil details, including an engraving on the barrel indicating the ammo size and a Ruger logo as a nod to my reference model.
End Result
Overall, I’m happy with how the final piece turned out! There’s definitely room for refinement and additional details, but I wanted to keep this project relatively quick and focused:
